Easy Ways to Digitize Old Photos in Bulk
While pictures may be the best way to capture memories, they don't always stand the test of time. But the tradition of keeping printed photographs isn't just being phased out by the rise of digital technology.
Printed pictures are vulnerable to water and fire damage, and can easily be lost in a disaster, accident, or just by moving things around in your basement.
With digital photographs, even if something happens to your device, you can still retrieve them from the cloud. If you have a pile of old pictures taking up space in your garage, attic, basement, or closet, then you may want to consider digitizing them before it's too late!

Using a Scanner
If you already own a scanner, then you're in good shape. Even if you don't own a scanner, but have a lot of pictures, you can usually purchase one for less than $100. Before scanning your photos, there are a few things you'll need to be prepared with:
- Make sure you have photo editing software on your computer or your phone, but preferably on your computer.
- Keep three soft pieces of cloth on hand for cleaning.
- Clear a space to layout and organize your pictures.
Now it's time to go get that shoebox full of memories from the attic!
Scanning Your Photos
To start, you'll want to group your photographs by date, event, or photo subjects to make the project more manageable.
If you notice that the sides and corners of any of your pictures are turned up, don't flatten the bend with your hand. Instead, put the picture under or into a bulky book. By the next morning, your photo should be flat enough to scan.
Prepping Your Scanner
Wipe the surface of the scanner with the cloth. Make sure it's dry. If the surface appears blurry and stained, use a damp cloth to wipe the stain out and use a dry cloth afterwards. Do not use materials that can leave a residue, like a tissue or paper towel.
If your pictures have traces of dust on them, don't hesitate to wipe them with a dry cloth as well. Using a wet cloth will destroy the images.
Scanning Your Pictures
After you are done, fit as many photographs as you can into the scanner bed. When the pictures are on and arranged, close the lid and press scan. Depending on the time you dedicate to the process, you can scan from 30 to 100+ pictures daily.
When scanning, the highest resolution is not always the best answer. Sometimes it makes it too sharp, and the picture loses some of its softness. It is always recommended to use the medium or average resolution.
Editing and Uploading
Once you've finished scanning, pull out your photo editing software. Start touching up! You can now crop, cut, remove creases or increase and decrease brightness, etc. With more advanced software, you might even be able to remove water spots or restore fading photos to their former glory.
When you are all finished, upload the picture files to the cloud or store them on your device.
Mobile Phone App

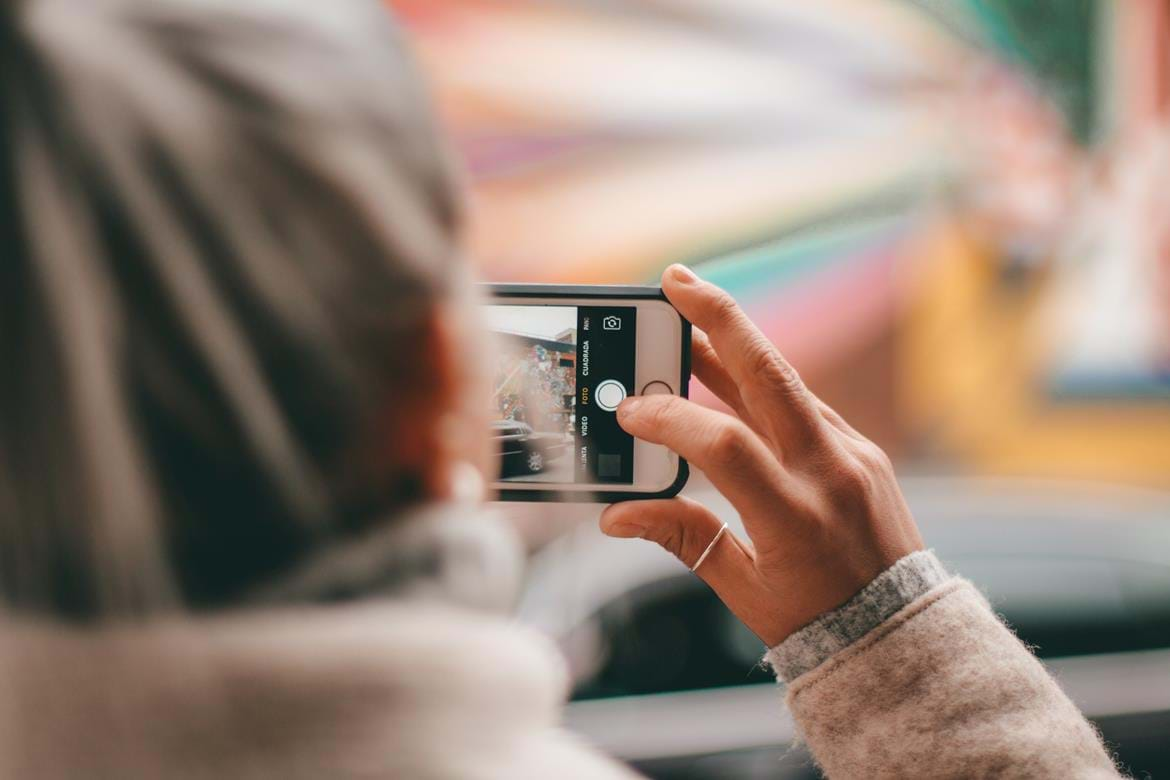
If you aren't looking to purchase a scanner, or if the quality isn't as big of a concern for you, then this might be a faster, more convenient option. Make sure your smartphone comes with a photo scanner.
If not, you can download one from Apple Store for iOS phones and Google PlayStore for Android. Pic Scanner, Google Photo Scan, Photomyne are some of the more popular options. Keep in mind that no matter how good the photo scanner is, it still depends on the quality of your mobile phone camera.
Fit as many pictures as you can into a white or non-multi-colored background and scan. Make sure it scans everything, and the pictures are not overlapping each other. Just like with a traditional scanner, you can download a photo editor to edit pictures before uploading or saving them.
Professional Help
If you do not have time to digitize your own photos, consider hiring a service that specializes in scanning old pictures. Hiring a service like this is fairly easy, and it generally results in high-quality digital photos.
This option can be pricier, depending on how much you have to scan. These companies typically charge anywhere from $0.30 to $0.50, sometimes even $0.70 per picture. However, it can take up to a couple of months to finish your project.
Smart StorageTurning your pictures digital is a choice you will never regret, especially with how quickly the world is evolving. But digital does not mean loss-prevention. Always load the photos onto the cloud after the digitizing process. That way, no matter what happens to your computer, you'll still be able to retrieve those pictures of Grandma's 90th birthday any time you want.
No worries! We can fix it and make it beautiful.
from our blog
You might also like
It was the longest, deepest, and most widespread depression of the 20th century. The Great Depression is commonly used as an example of how intensely the global economy can decline.
When you retouch your photos, you have to be careful about what kind of format you choose when you save them. The right file type produces well-crafted images, while the wrong one may lead to poor-quality pictures.
Over time, pictures and photographic paper can lose their physical integrity, get stained or scratched. If you feel concerned about it, we can help. Learn about what we do at Futura Photo and what wide range of improvements we can bring to your photos.
Sometimes as photos age, they can begin to curl or curve. This can actually be reversed, but it must be done delicately and carefully. Discover how!


